
How to Create Folders to Organize Your Files
Folders provide a simple way to keep your files organized within any item in your Trustworthy account. You can create folders to group related documents, such as utility bills for a property, statements for a financial account, or an inventory for insurance purposes.
Creating a New Folder
You can add folders directly within the Files section of any Item. This is useful when an item, like a home or a bank account, has many associated documents that you want to group together.
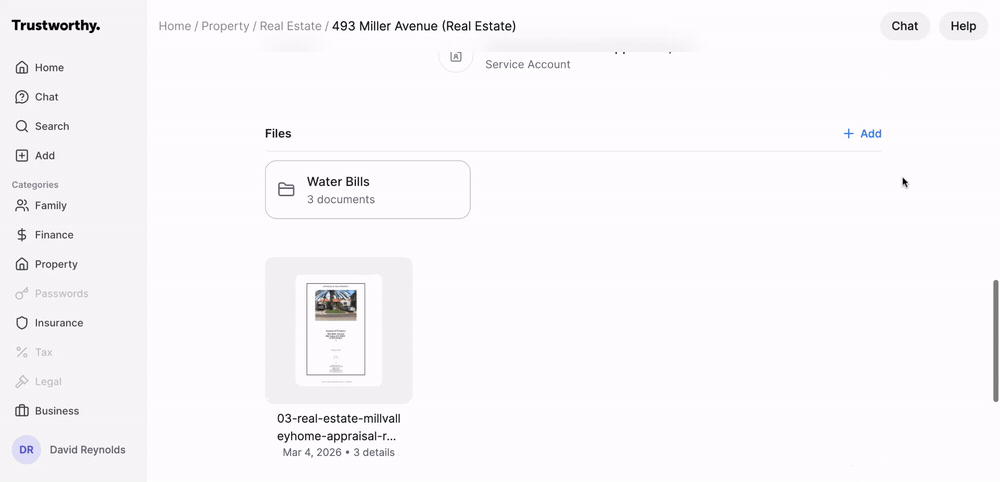
Navigate to the item where you want to add a folder and click on the Files tab.
In the Files section, click the + Add button in the top-right corner.
Select Add folder from the dropdown menu.
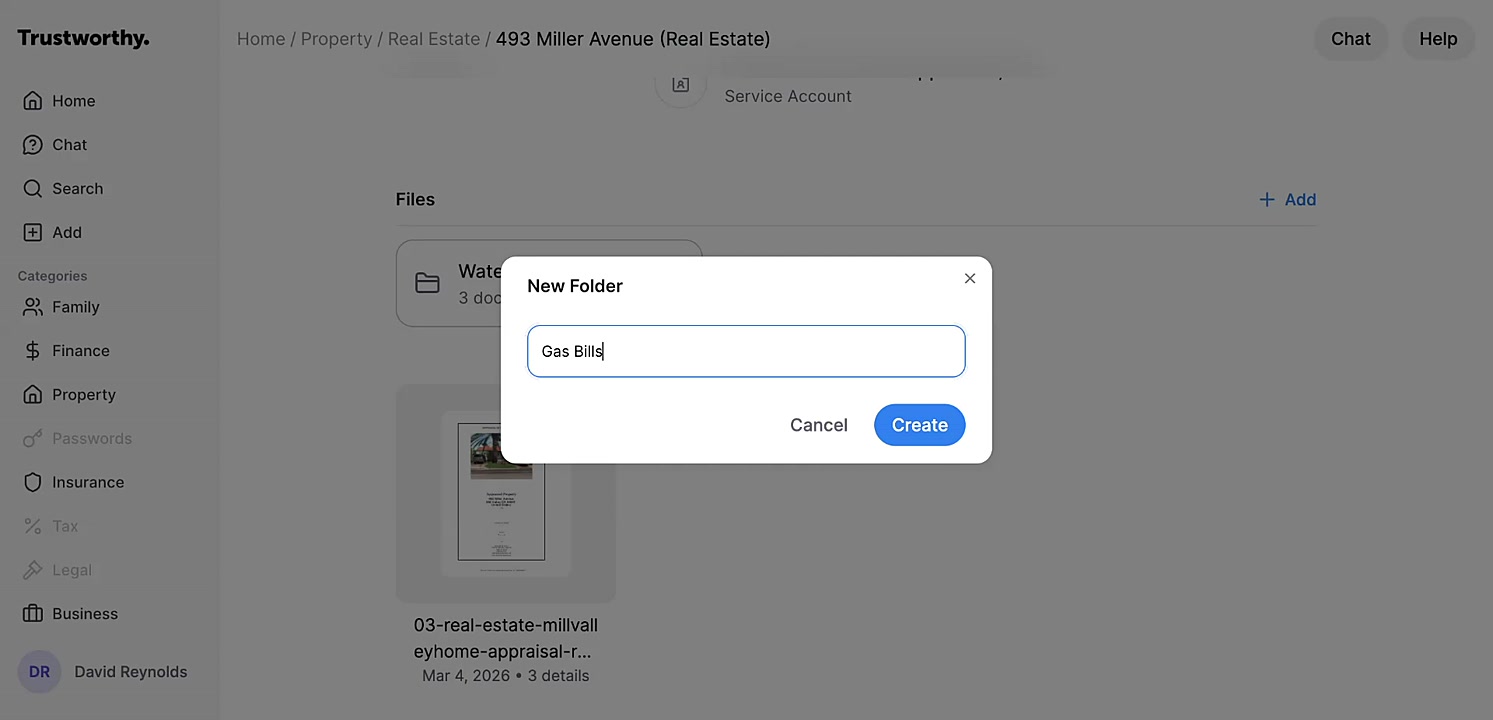
A New Folder window will appear. Enter a name for your folder, such as "Gas Bills" or "Insurance Photos."
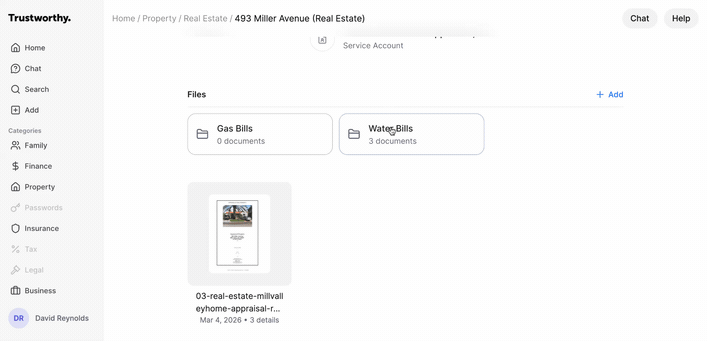
Click Create to add the new folder to your files list.
Managing Your Folders and Files
Once you have created folders, you can easily manage their contents, rename them, or delete them as needed.
Viewing Folder Contents: To see the documents inside a folder, simply click on the folder's name.
Navigating Folders: When you are inside a folder, a breadcrumb trail (e.g., Files > Water Bills) appears at the top. You can click Files to return to the main list of all files and folders for that item.
Adding Files to a Folder: Open the desired folder and either drag and drop files into the window or use the Browse files link to upload documents.
Renaming or Deleting a Folder: While inside a folder, click the three-dot menu icon to open options to Rename folder or Delete folder.
💡 Tips for Using Folders
Use folders to create a clear and consistent organizational system. For a real estate property, you might create folders for "Utility Bills," "Renovation Receipts," and "Appraisal Documents." For a financial account, you could use folders for each year's statements, such as "2023 Statements."