Understanding Categories and Detail Pages
In Trustworthy, your information is organized into a simple, two-level structure: Categories and Pages. Categories are the main organizational folders for your vault, and Pages are the individual records you store within them. Understanding this structure is key to keeping your family's information secure and easy to find.
Understanding Categories
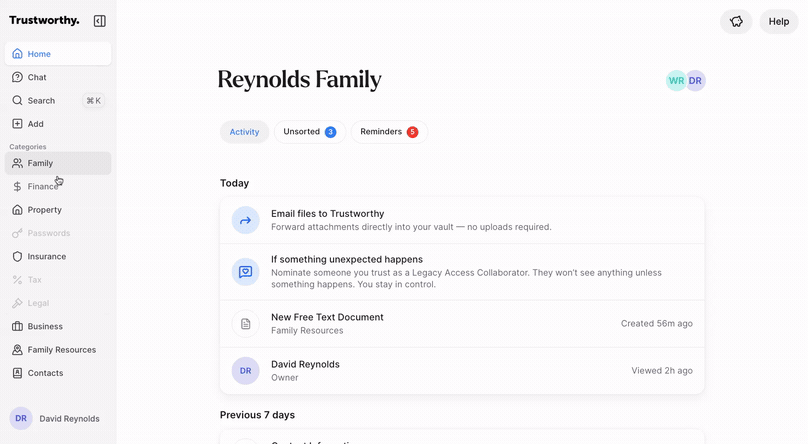
Categories are the primary way information is grouped in your vault. You will find the complete list of Categories in the main navigation menu on the left side of your screen.
A category's appearance tells you its status:
Bolded: A category in bold text (e.g., Family, Finance) contains at least one item.
Grayed-out: A grayed-out category (e.g., Legal, Business) is currently empty.
Working with Pages
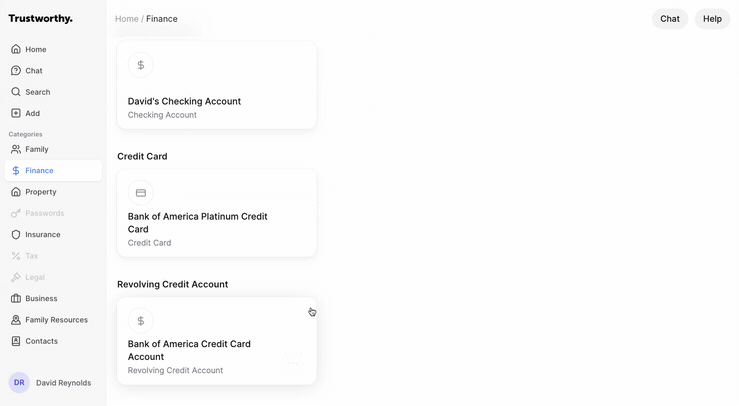
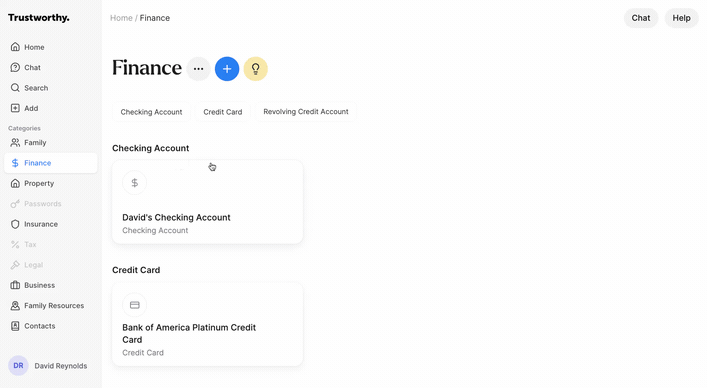
When you click on a Category, you will see a collection of tiles, organized by subcategory with all of the information you have added to date. Each tile represents a page with specific granular pieces of information you've added as well as supporting files, notes, and reminders.
By default, categories show your information pages as tiles, but you can also switch to view as a list by clicking the three-dot menu icon next to the category title and selecting View as list.
Adding New Pages
There are two ways to add a new Item from a category page. We strongly recommend adding new pages by uploading a document that can populate key information to get you started.
Upload a document. In your left navigation panel, click + Add. Or, go to "Home" and simply drag and drop a file onto your homepage dashboard. The system will begin to automatically process your document, leaning on AI to suggest a name, a filing location, and extract key details from the document.
Manual Addition: Click the blue plus (+) icon at the top of the category page. This will open a dropdown menu where you can select the specific type of item you want to create (e.g., Checking Account, Auto Loan).
Need inspiration? Click the yellow lightbulb icon. This opens a panel with two options, uploading or manually adding information. Click on a capsule to launch the upload for that document or to create a specific page manually.
Managing Page Details
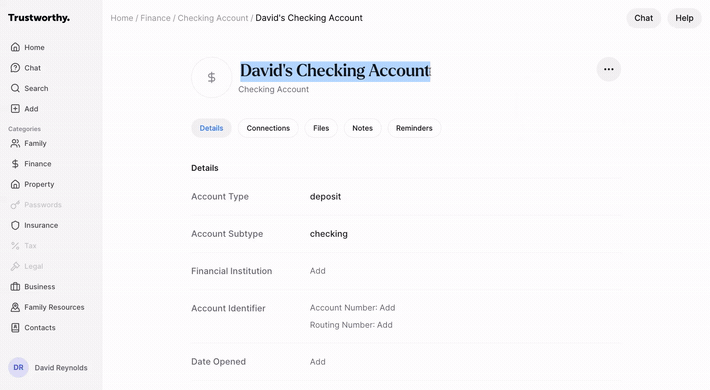
Clicking on any tile will take you to its details page, where you can manage all its associated information. Pages include these sections:
Details: Displays all the key information about the item, much of which is automatically extracted from your uploaded documents.
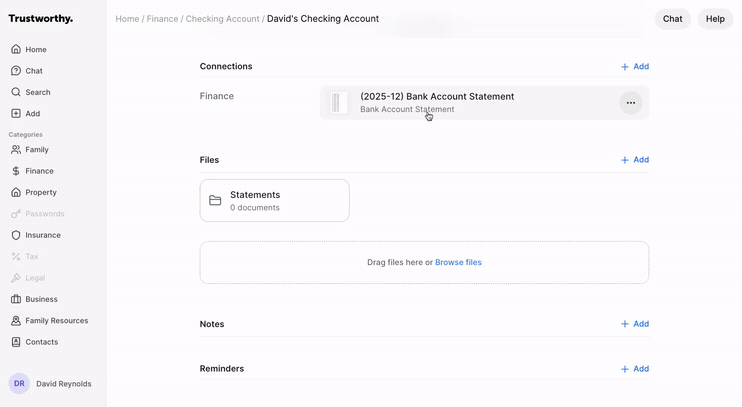
Connections: Allows you to link this page to other related resources, such as connecting a vehicle to its insurance policy or a home to the password for the garage door.
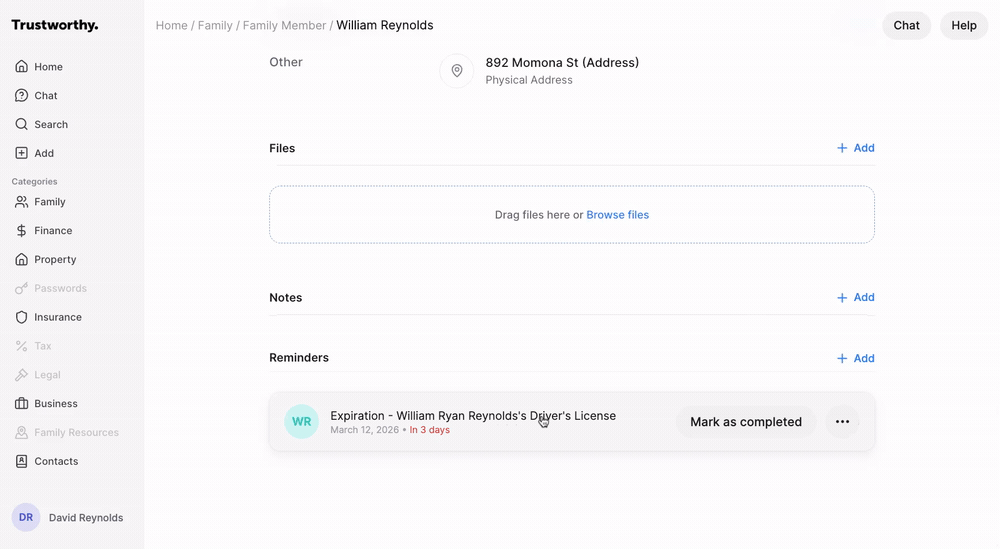
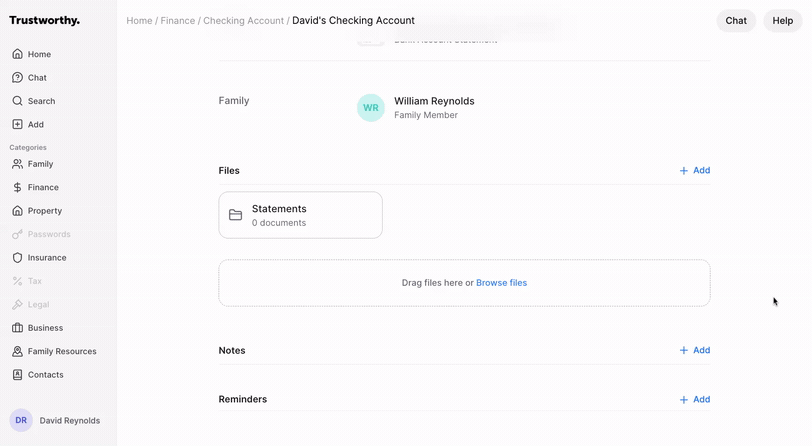
Files (and Folders): Contains all the files and folders associated with this item.
Notes: A space to add any freeform text or notes related to the item.
Reminders: Set up and manage reminders for important dates, like a policy expiration or a registration renewal. Create custom notifications and even add a Note to remember key information about this reminder.
Renaming a Page
To change the name of a page, navigate to its details page and click the pencil icon next to the title. Type the new name and click away to save the change.
Adding Files and Folders
Each item has its own file storage area. Here, you can upload related documents.
To create a new folder for better organization, click the + Add button in the Files section and select Add folder.
Give the folder a name (e.g., "Statements," "Expenses") and click Create.
You can click and drag the files and folders to re-order them.
Connecting Information
Connections allow you to link the item to other people or items in your Trustworthy vault. For example, you can connect a family member to a bank account they have access to.
Reminders
Reminders are proactive notifications designed to alert you about upcoming dates and deadlines. Trustworthy creates and manages reminders in two ways, giving you a complete system for tracking everything that matters.
Automatic Reminders: When you add a document with a clear expiration date—such as a driver's license, passport, or insurance policy—Trustworthy automatically identifies that date and creates a reminder for you.
Custom Reminders: You can manually add a reminder for any task or event. This is perfect for tracking things that don't have an associated document, like renewing a parking pass, paying an annual fee, or scheduling an appointment.