
How to Export Your Data from Trustworthy
This guide shows you how to export a complete archive of your files from Trustworthy. This action must be performed using the Trustworthy web app.
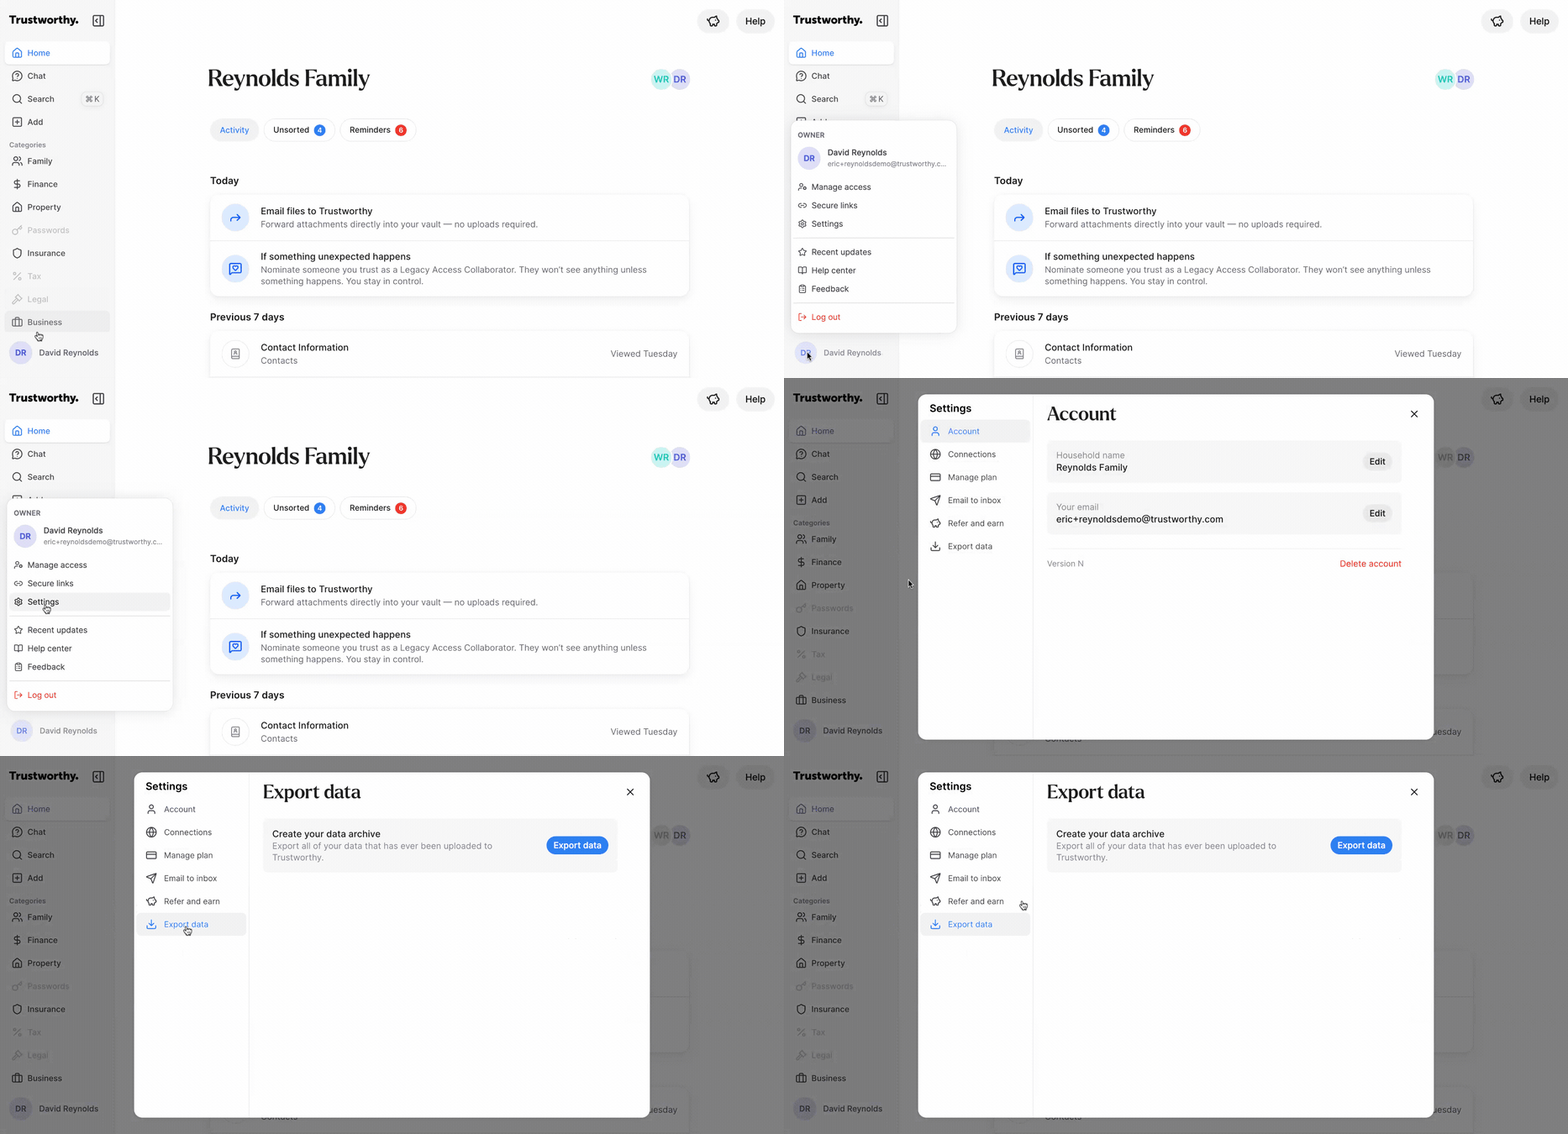
Navigate to your account menu by clicking your name in the bottom-left corner of the screen.
Select Settings from the pop-up menu.
In the Settings window, click Export data from the left-hand navigation list.
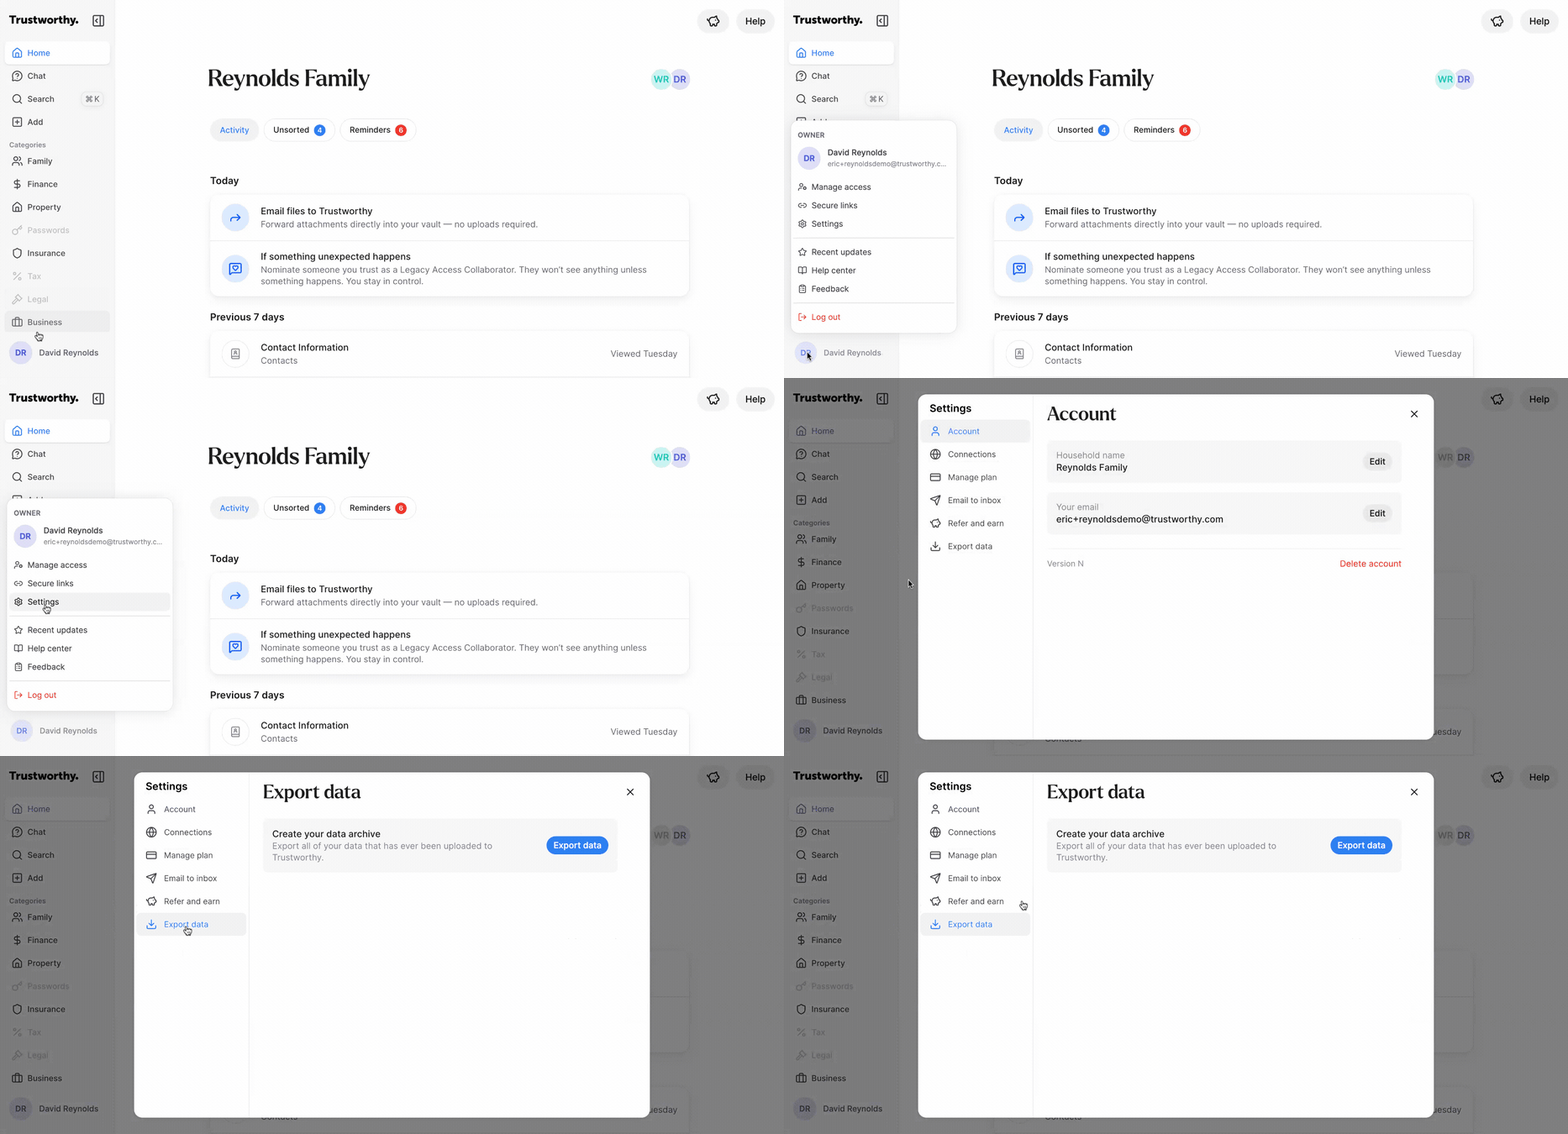
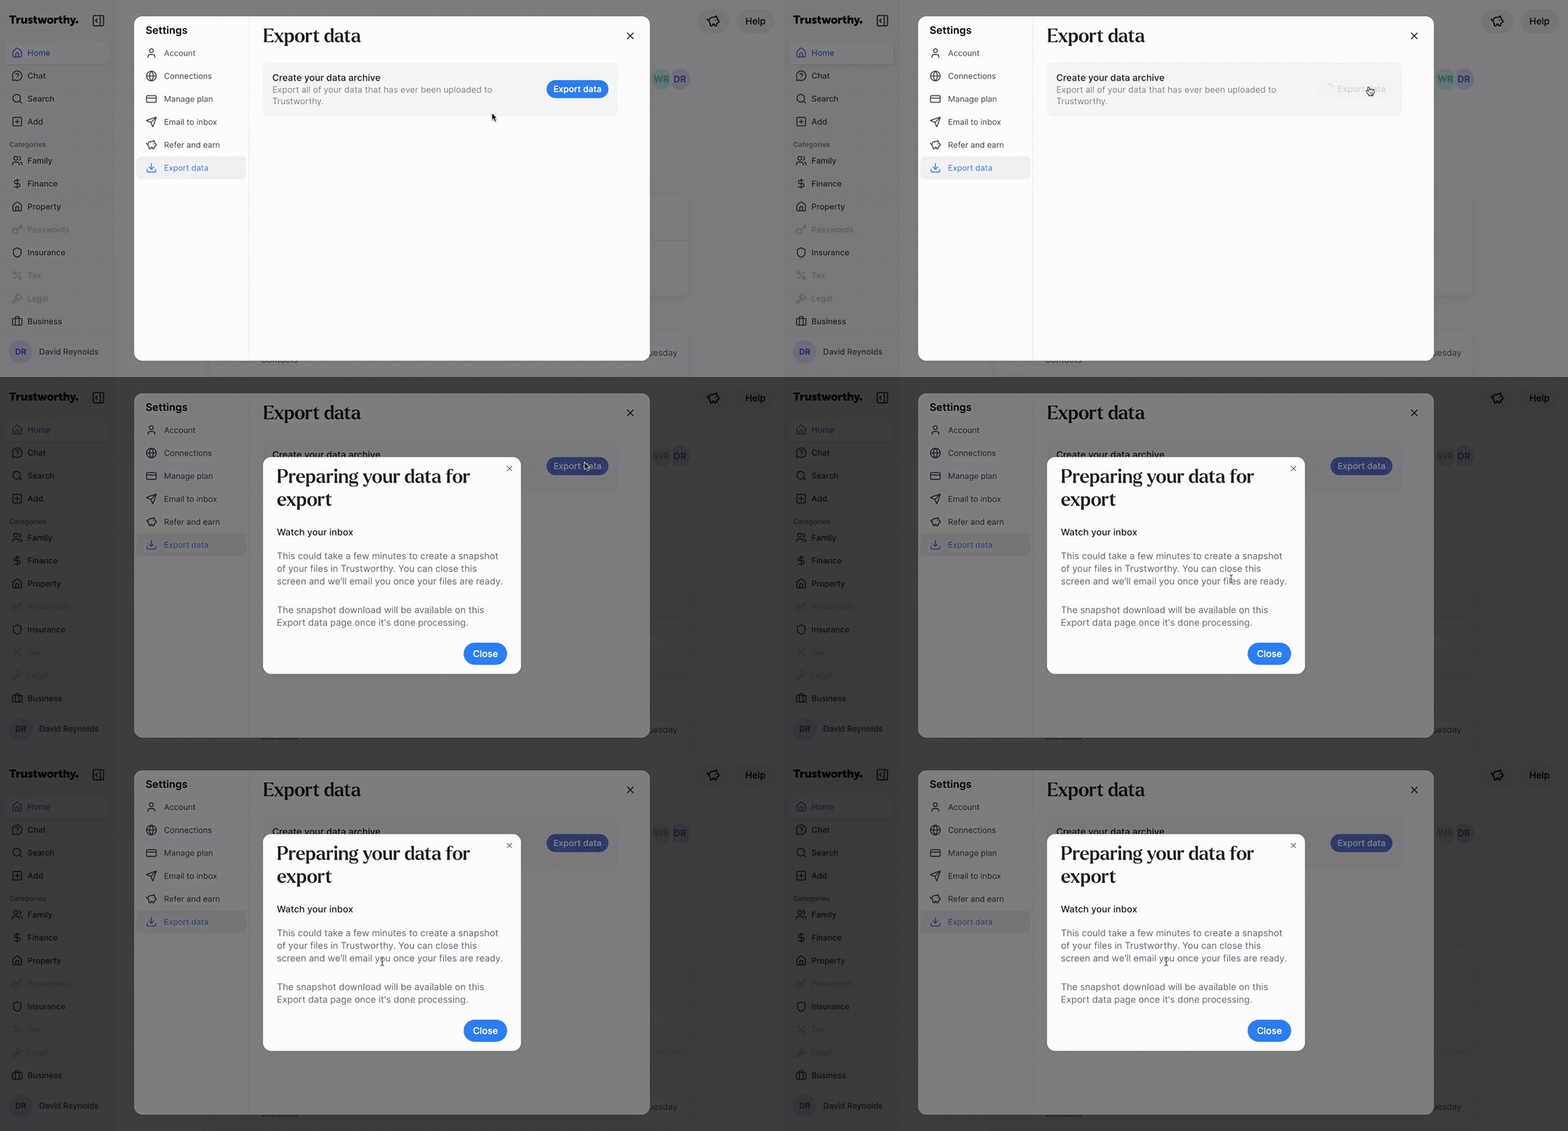
Click the blue Export data button to start creating your data archive.
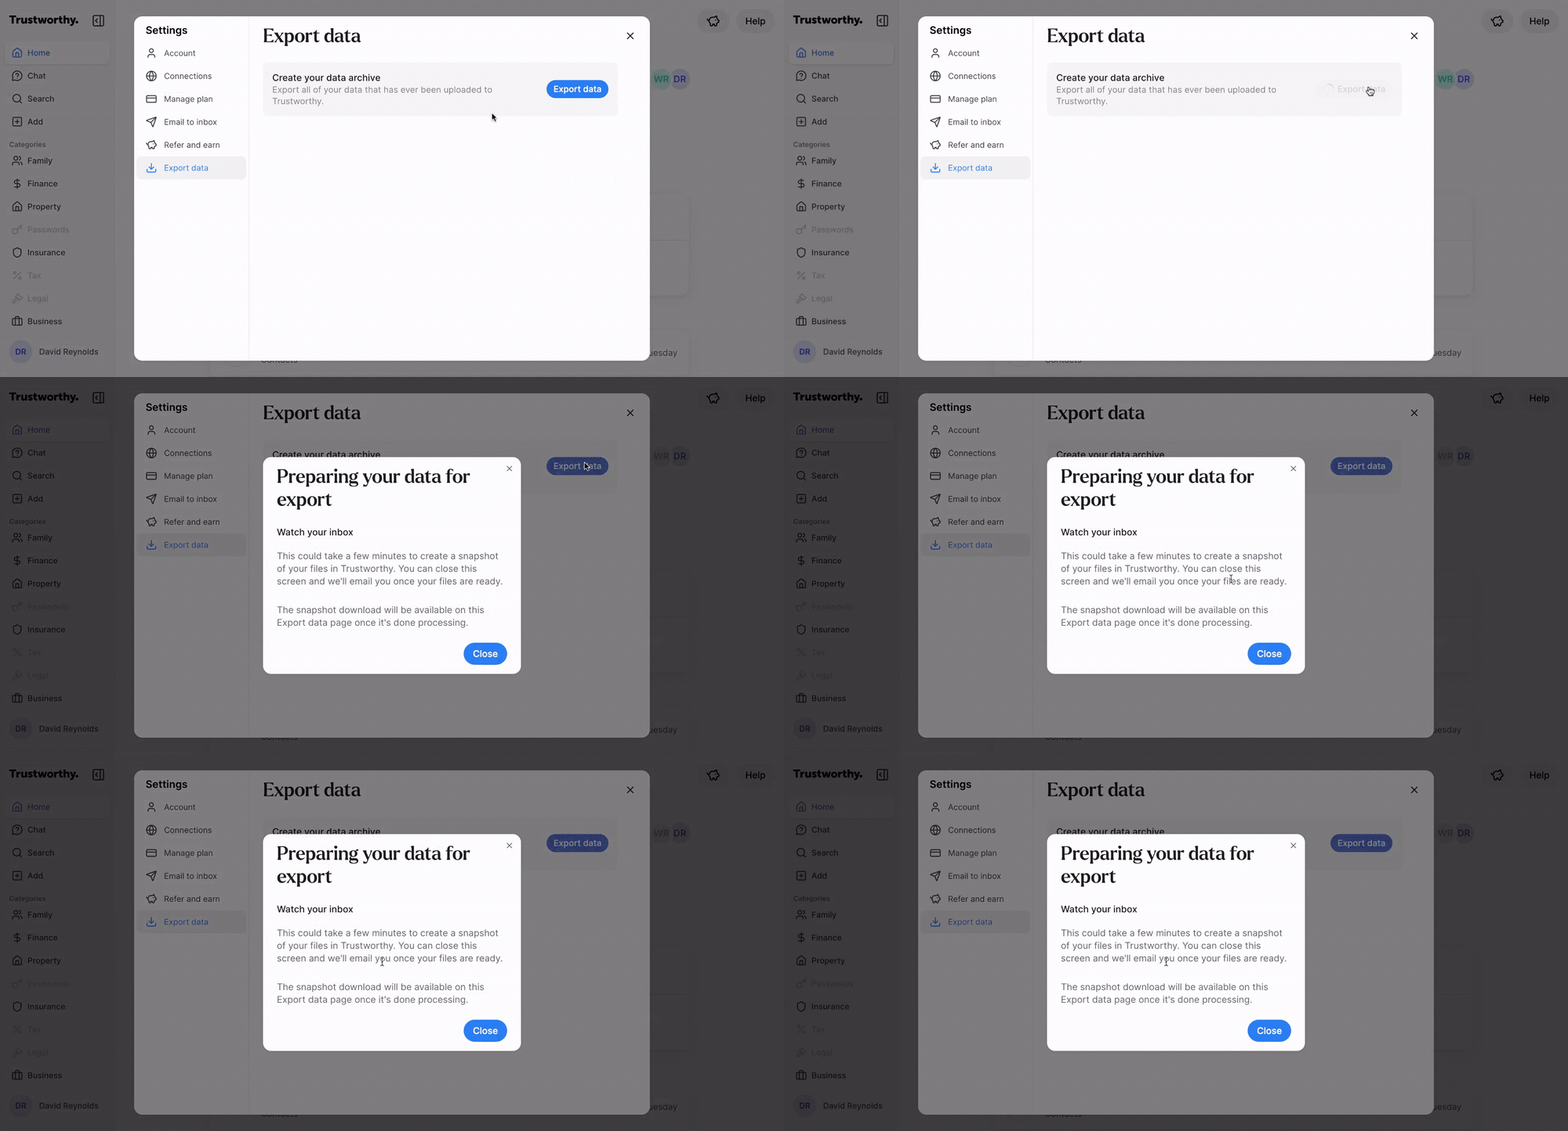
A pop-up window will confirm that your data is being prepared for export. You will receive an email once the process is complete. Click Close to exit this window.
Return to the Export data screen to find the link to download your completed archive.
What's Included in Your Export
Your export includes two things: your Family Brief and your files.
The Family Brief is a printable summary of everything your household keeps in Trustworthy, and an index to the files that came with it. It covers every page and document — what it is, its details, any notes or reminders on it, and the name of every file attached to it. Account numbers, Social Security numbers, passwords, and PINs are printed in full, so keep the download as carefully as you keep the originals. For a full tour of the document, see The Family Brief: Everything Your Family Would Need to Know.
Your files are the original documents you uploaded (PDFs, .csv, and so on), included exactly as you uploaded them. Files you have deleted are not included.
How Your Export Is Organized
Your download is a single ZIP file. Opening it gives you one folder named Trustworthy Export followed by the date you requested it. Inside, your files are arranged the same way you see them in the app:
Category folders — one folder for each category you use, such as Family, Finance, Legal, and Insurance. Each file sits in the category of the page it is filed on.
Your own folders — any folder you created appears inside its category folder, holding the same files it holds in Trustworthy.
Inbox — files you have uploaded but not yet filed anywhere.
Collaborator-Profile-Photos — profile pictures belonging to the people on your account.
Files are named the way they appear in Trustworthy, so a document you see as Home Insurance Policy is saved as Home Insurance Policy.pdf. When a page or family member has a profile photo, it is saved in that category folder as Avatar- followed by the page name. If two files in the same folder share a name, a number is added so both are kept, for example Tax Return (2).pdf.